 Asale
AsaleInstall the client
Download Asale for macOS, Windows or Linux, or install it from a terminal in one line.
Written for people who have never used a command line. About 5 minutes, free, no coding — and it is step one whether you want to earn from subscription capacity you are not using or to buy tokens cheaply.
Three things to check first
- Which operating system you have
Downloads are per-system, and the wrong one will not install.
- Windows: search for "About your PC" in the Start menu.
- macOS: Apple menu → About This Mac.
- If you have no idea, it is almost certainly Windows.
- That your network can reach Asale's servers
Whether you buy or sell, the client keeps a connection open to Asale's servers. If it cannot get through, it sits at "Starting" forever.
Only selling additionally needs access to the upstream vendors (Anthropic, OpenAI, Google) — buying does not. See "About your network" below.
- An email address
To register an Asale account. Signing in with Google or GitHub skips email verification entirely.
Step 1: Open the download page
Open asale.ai. The download button is on the first screen.
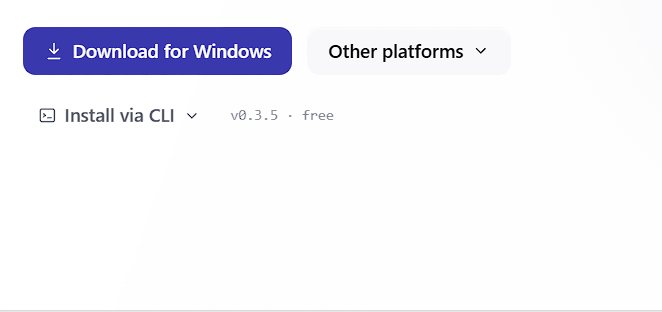
The page detects your system, so the main button already reads Download for Windows (or for macOS). For a different system, click Other platforms:
| Button | When to use it |
|---|---|
| macOS | Apple computers — downloads a .dmg |
| Windows | Windows computers — downloads an .exe installer |
| Linux AppImage | Any Linux distribution — mark it executable and run it directly |
| Linux .deb | Ubuntu / Debian family — double-click to install via the software centre |
This release has no package for that platform yet. Wait for the next release, or use the one-line install below.
Step 2: Install
- Windows
Double-click the
Asale_x.x.x_x64-setup.exeyou downloaded.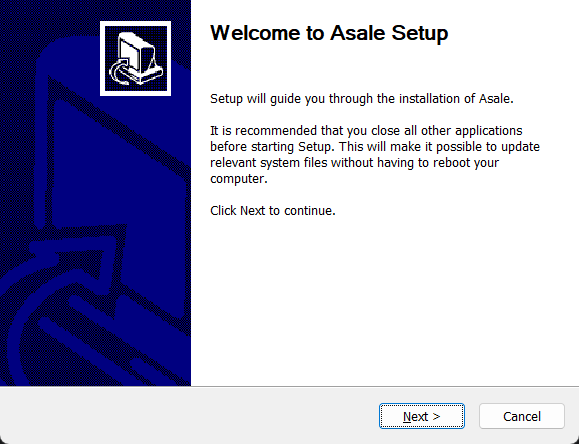
If a blue "Windows protected your PC" window appears, click More info → Run anyway.
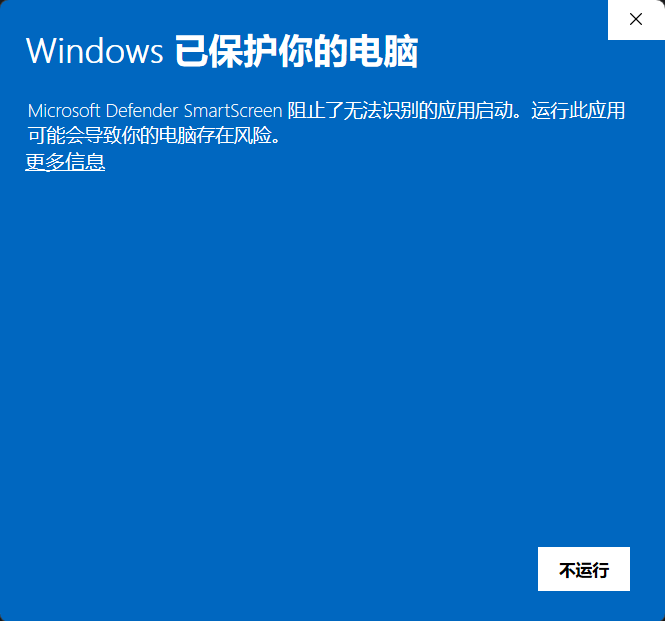
Click "Next" all the way through; an Asale icon appears on your desktop.
- macOS
Double-click the
.dmgand drag the Asale icon into Applications.If the first launch says the developer cannot be verified, go to Applications, right-click Asale → Open, then click "Open" once more. Only needed once.
- Linux (.deb)
Double-click the
.debto install through the software centre, or in a terminal:sudo dpkg -i asale_*.deb - Linux (AppImage)
No installation needed — mark it executable and run it:
chmod +x Asale_*.AppImage
./Asale_*.AppImage
Step 2 (alternative): Install with one line
If you are comfortable in a terminal, or the button says "Coming soon", use the install script. It picks the right build, downloads it, and sets up the background service.
macOS / Linux — open "Terminal", paste, press Enter:
curl -fsSL https://asale.ai/dl/install.sh | sh
Windows — open PowerShell from the Start menu, paste, press Enter:
irm https://asale.ai/dl/install.ps1 | iex
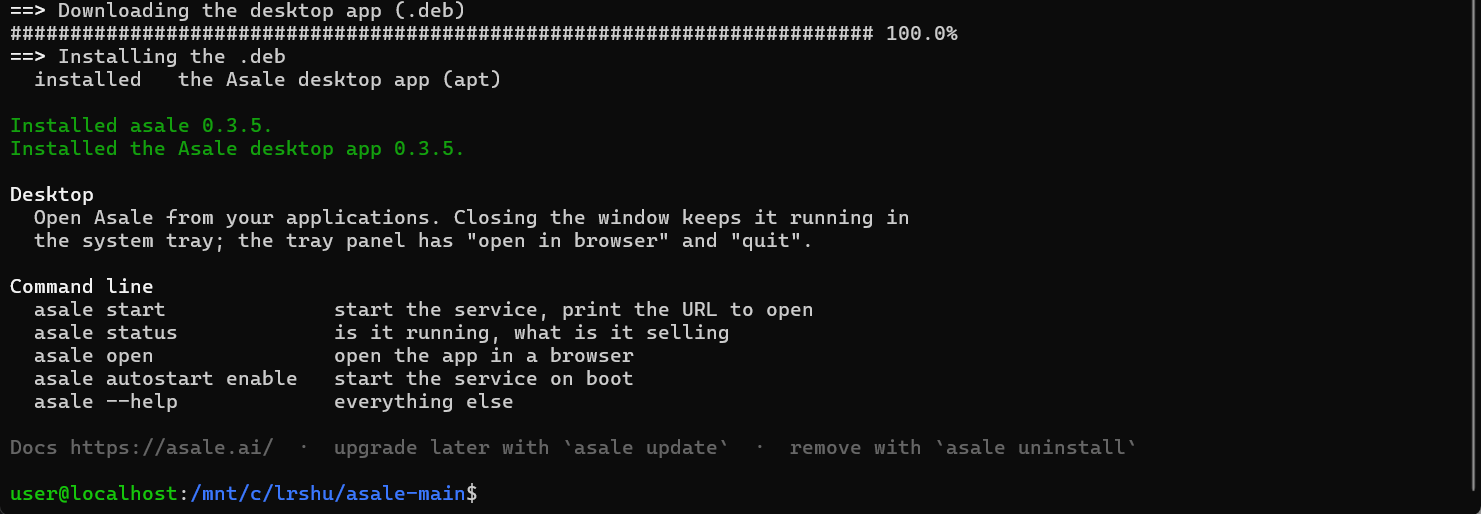
- Windows: press
Win, typepowershell, press Enter. - macOS: press
Command + Space, typeTerminal, press Enter. - Linux:
Ctrl + Alt + T.
Paste with Ctrl + V (Command + V on macOS), then press Enter.
Step 3: Open the client for the first time
The left-hand navigation has: Dashboard, Sell, Buy, Stats, Limits, Wallet, Records, Account.
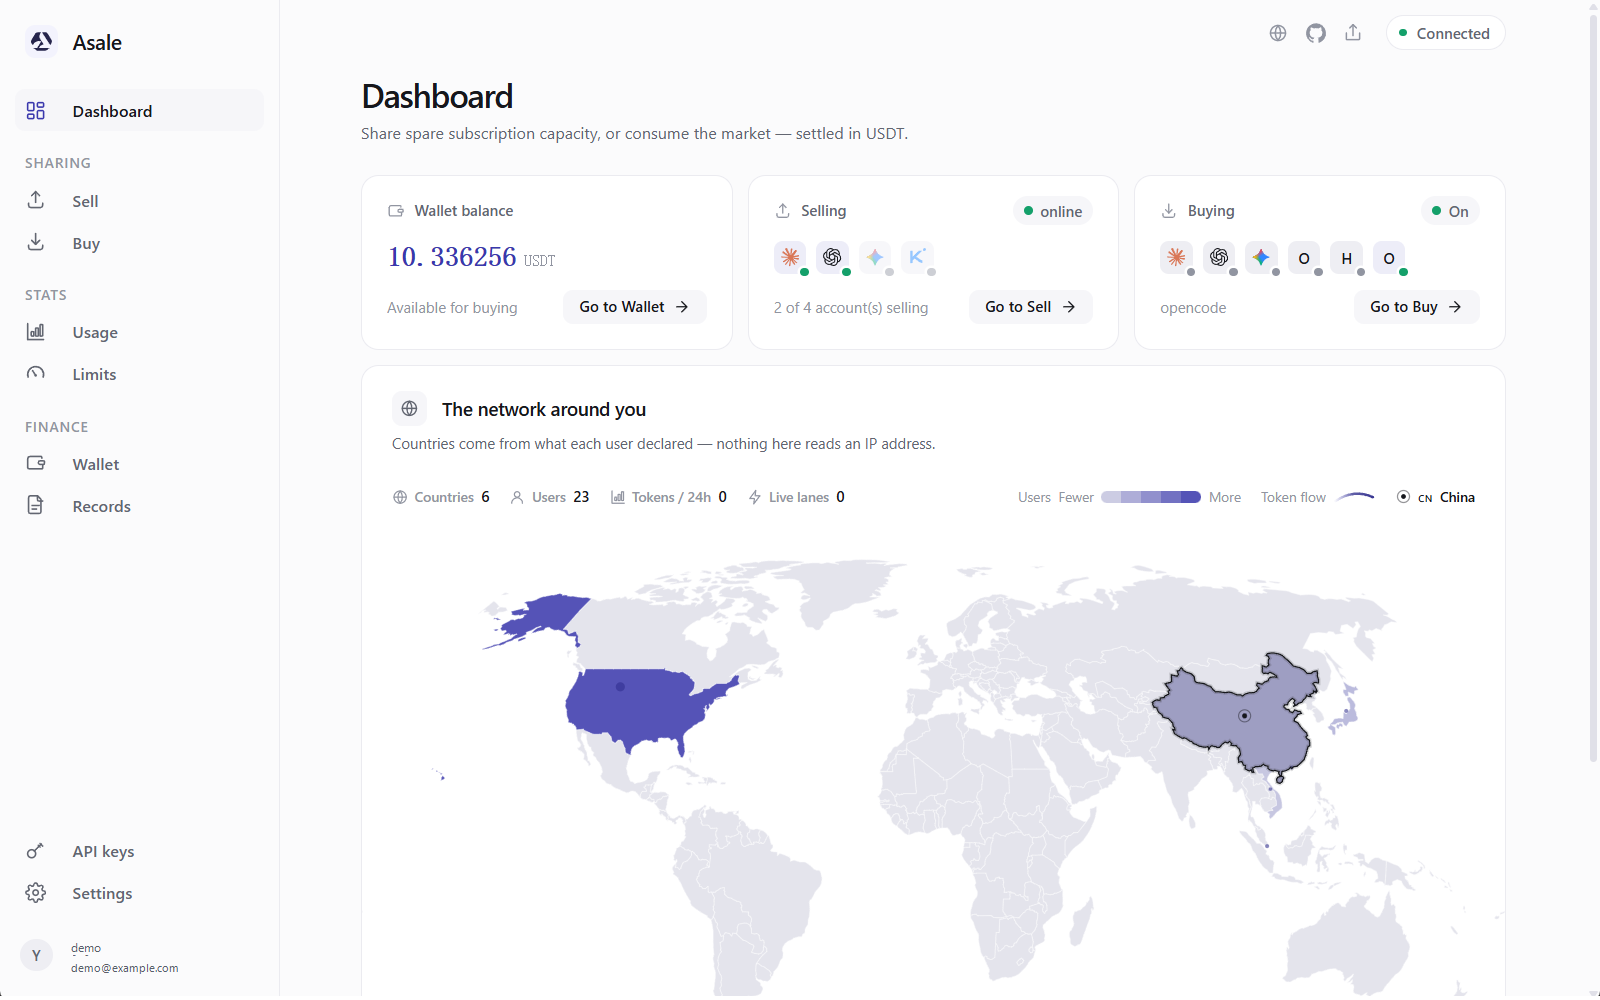
| Page | What it does |
|---|---|
| Dashboard | One glance: wallet balance, how many accounts are selling, whether buying is on |
| Sell | Connect subscription accounts and offer their idle capacity on the market |
| Buy | Point the AI tools on this machine at the market and buy tokens cheaply |
| Limits | See how much of your subscription is used, and cap how much you sell per day |
| Wallet | Deposit USDT, withdraw earnings |
| Records | The model, token count and amount for every single request |
| Account | Sign in, sign out, profile |
Asale has two parts: the window you see, and a background service called asaled that does the work. Close the window and asaled keeps running — that is what lets your subscription keep earning.
That message means it did not come up. Quit the client completely and reopen it; if that does not help, restart the computer.
Step 4: Register / sign in
Click Account on the left.
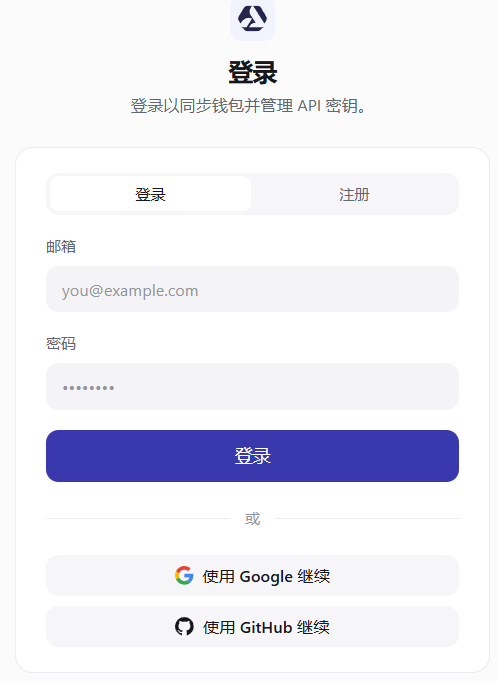
- Register with an email address
Switch to Register, fill in email and password, choose your country / region (changeable later), and click Create account. Then click the verification link in your inbox — check spam if nothing arrives.
- Continue with Google
Your browser opens automatically — pick your Google account and approve, then come back to the client, which will have signed itself in.
- Continue with GitHub
Same thing, via Continue with GitHub.
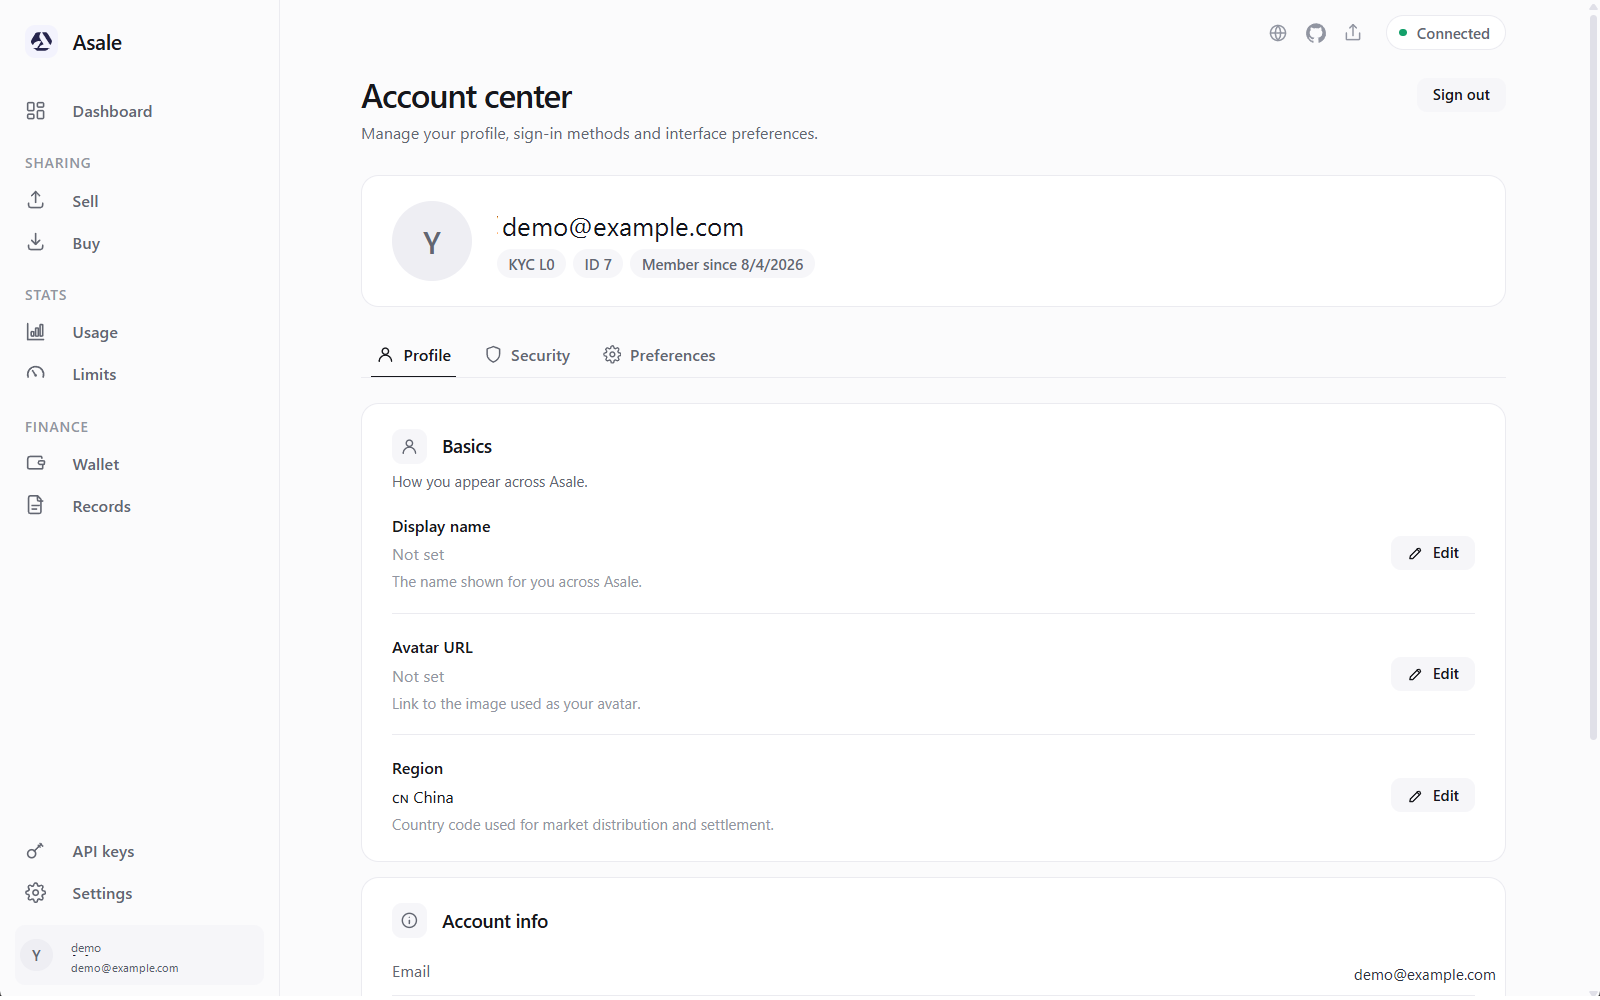
Once you are in, Account shows "Signed in as: your email address".
Step 5: Let it scan for AI tools you already have
On startup the client looks for AI CLIs you have already signed into — Claude Code, Codex, Gemini CLI and so on — and imports those credentials, so you can start selling without signing in again.
Open the Sell page; imported accounts appear further down:
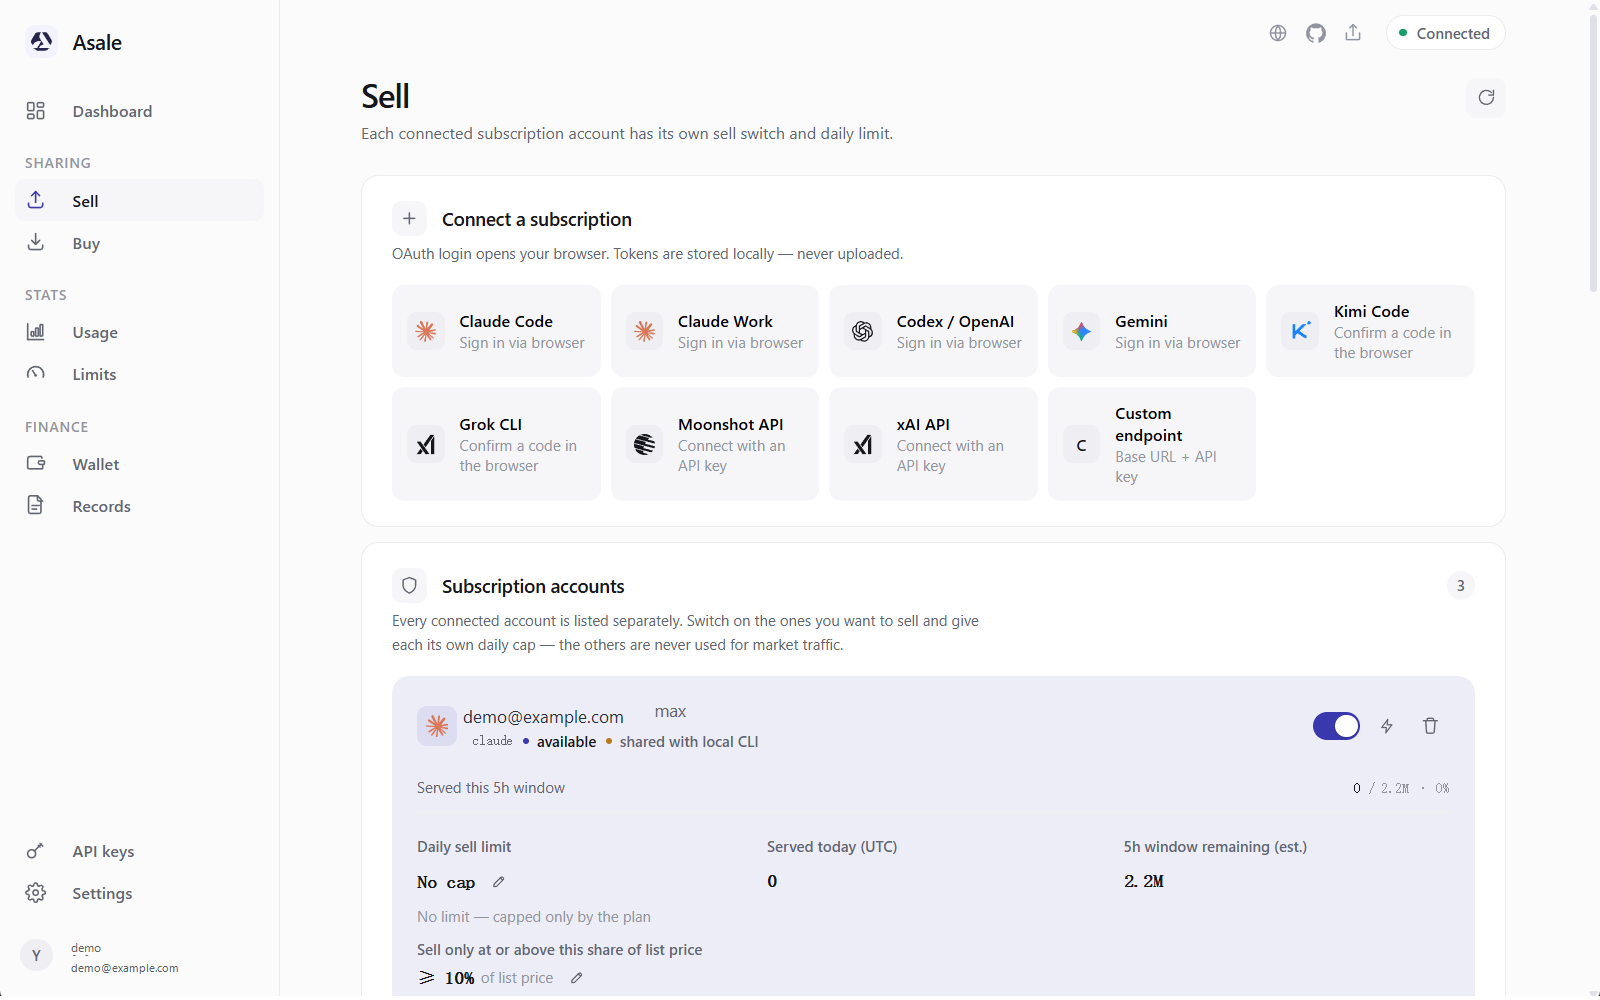
Finding nothing is normal too — it just means those tools were never installed here. Re-import scans again. Otherwise follow the selling guide and connect an account by hand.
About your network: buying and selling have different requirements
Buying: reaching Asale is enough
Your tool hands the question to Asale on your computer, Asale passes it to the market, and the market assigns it to some seller's computer, which asks the vendor. The machine actually talking to Anthropic / OpenAI / Google is the seller's, not yours.
Reaching Asale's own servers is enough. That is exactly why many people use it — their local network cannot reach those vendors, and they can still use Claude Code and Codex.
Selling: you must be able to reach the upstream vendor
When you sell, the machine that asks the vendor is yours, using your account, so this path has to work:
- the browser sign-in when you connect the subscription;
- the periodic renewal afterwards;
- every job you do for a buyer.
In some regions a direct connection is simply refused (the client shows 403). That is not a sign-in problem, and signing in again will not fix it.
The client has upstream proxy settings built in
Settings → Network → Upstream proxy. Three modes:
| Mode | What it means |
|---|---|
| Auto (default) | Reads https_proxy and friends first, then the system proxy settings |
| No proxy (force direct) | Always connect directly, even if a proxy is set |
| Manual | Always use the address you type, ignoring environment variables and the system proxy |
Manual addresses accept http://, https:// and socks5:// — for example http://127.0.0.1:7890. Click Test connection: it really does reach out to the upstream API, and returns either a latency or a plain statement that this network cannot reach the provider.
It does not affect how Asale talks to its own servers. A proxy will not route your Asale account traffic elsewhere — and a dead proxy will not knock you offline, it will just start returning 403 on the models you are selling.
In Auto mode a desktop application usually does not inherit variables you export in a terminal, so what applies is the system proxy. "It works in my terminal but not in the app" is almost always this — switching to Manual is the easiest fix.
The other way round: an environment variable that is picked up overrides the interface setting, and the client tells you which variable is winning.
If models are already returning 403 because of a regional block, the client offers a Find my proxy button — it looks for proxies running on this machine, tries them one by one, and uses whichever gets through. Your proxy does have to be running already.